

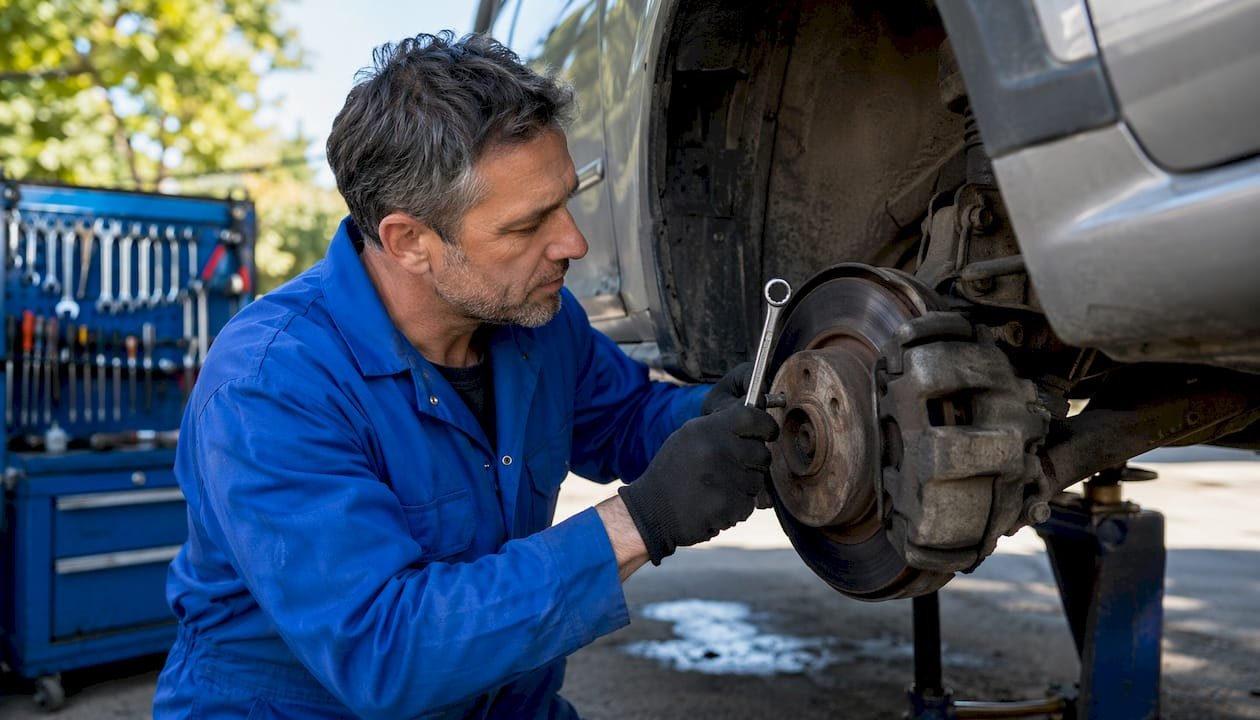
The brake bleeding procedure is defined as the systematic removal of air and contaminated fluid from the brake hydraulic system to restore firm pedal feel and full stopping power. Air in the brake lines compresses under pedal pressure, causing a spongy pedal and dangerously reduced braking force. Brake fluid absorbs moisture over time, which lowers its boiling point and corrodes internal components. Mechanics and vehicle owners should replace brake fluid every 24 months or approximately 24,000 miles to prevent this degradation. Whether you drive a daily commuter or a weekend project car, this guide covers the complete bleeding process, including ABS-specific techniques and troubleshooting.
What do you need before starting the brake bleeding procedure?
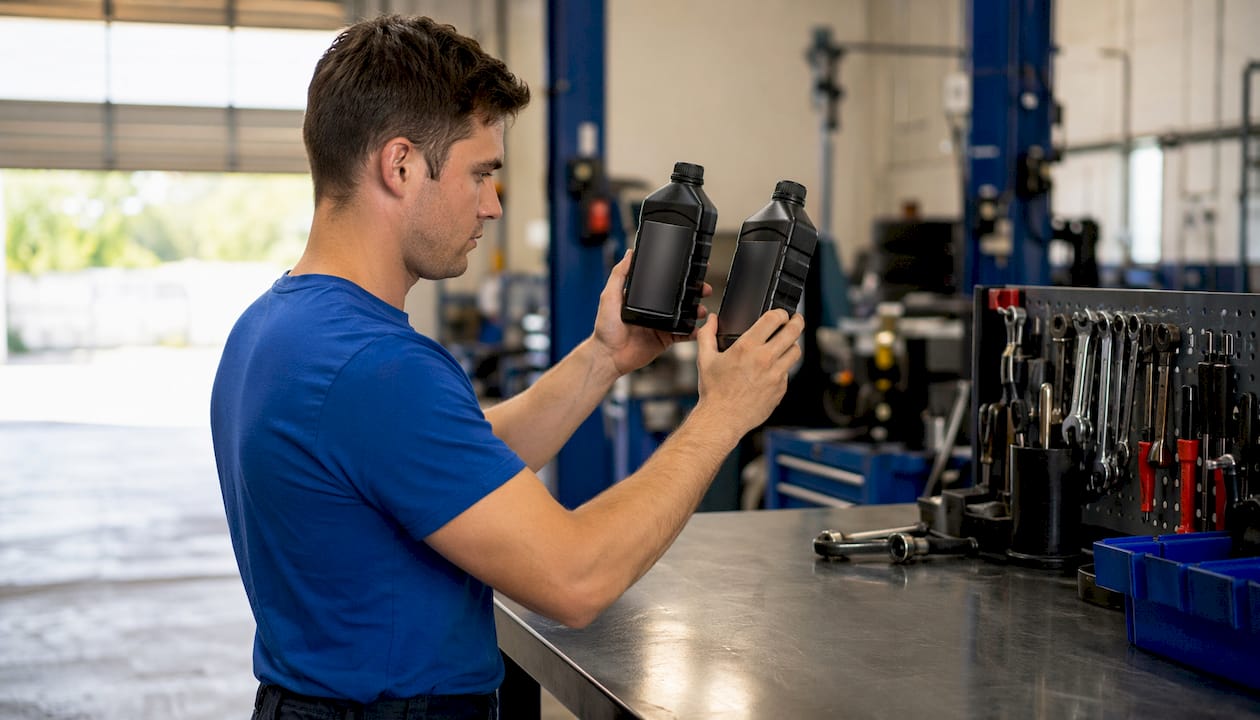
Preparation separates a clean, effective bleed from a frustrating two-hour ordeal. Gather every tool before you touch the bleeder screws.
Required tools and materials:
- Box-end wrench, typically 8mm or 10mm depending on your vehicle
- Clear vinyl tubing that fits snugly over the bleeder screw nipple
- A clean catch bottle to collect expelled fluid
- Fresh brake fluid matching your manufacturer’s specification, either DOT 3 or DOT 4
- Floor jack and rated jack stands
- Gloves and eye protection
- Zip-ties or dedicated hose fittings to seal the tubing connection
Safety and vehicle preparation:
- Park on a level surface and engage the parking brake fully
- Support the vehicle on jack stands before removing any wheels
- Clean the brake fluid reservoir cap and surrounding area before opening it
- Inspect brake lines and hoses for cracks or corrosion before bleeding
Mixing DOT 3 and DOT 4 fluids lowers the system’s boiling point and risks premature seal degradation in ABS components. Always use the exact fluid rating listed in your owner’s manual. Check the reservoir fluid condition before you start. Dark, murky fluid confirms the system needs a full flush, not just a top-off.
Pro Tip: Remove old fluid from the reservoir with a turkey baster or fluid transfer pump before adding fresh fluid. This prevents contaminated fluid from cycling back through the system during the bleed.
How to bleed brakes: step-by-step for traditional hydraulic systems
Most DIY mechanics complete a full brake fluid flush and bleed in 60 to 90 minutes using basic hand tools and a helper. The two-person pump-and-hold method is the most reliable approach for traditional hydraulic brakes.
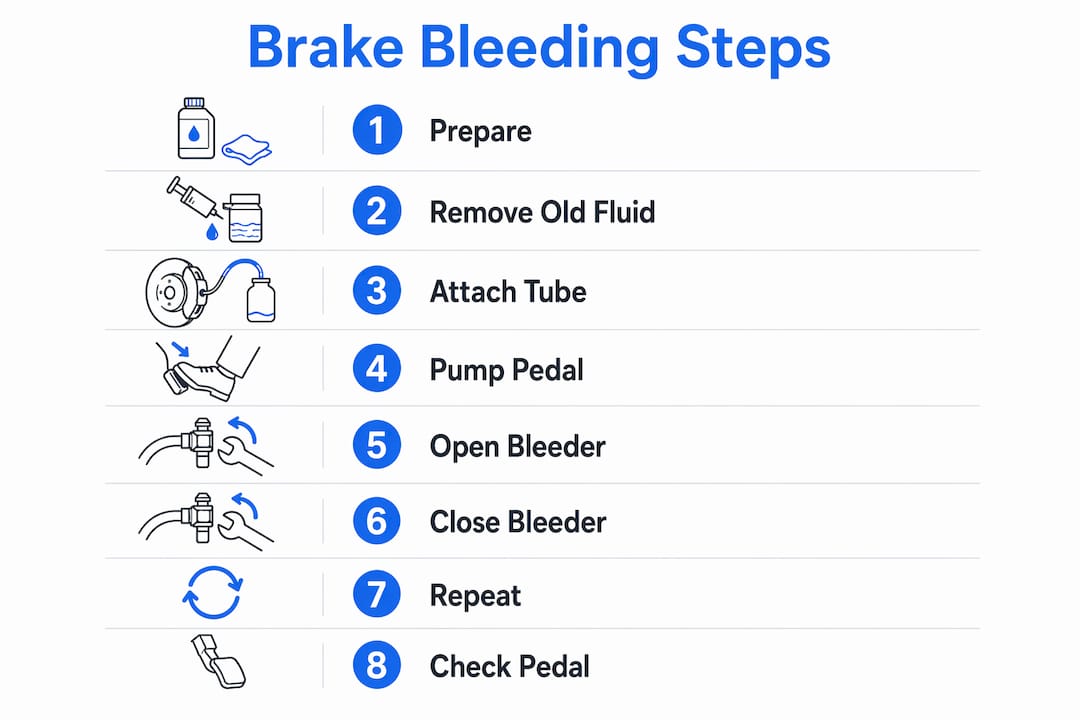
- Fill the reservoir with fresh, manufacturer-specified brake fluid to the MAX line. Keep the cap loose but in place to prevent contamination.
- Locate the first bleeder screw. The standard bleeding sequence starts at the wheel farthest from the master cylinder, typically the right rear (RR), then left rear (LR), right front (RF), and left front (LF). Always verify this order in your factory service manual, since some vehicles deviate from this pattern.
- Attach clear vinyl tubing to the bleeder screw nipple. Submerge the other end in your catch bottle with a small amount of fresh fluid to prevent air from being drawn back.
- Have your assistant pump the brake pedal slowly three to four times, then hold firm pressure on the pedal.
- Open the bleeder screw one-quarter turn while your assistant holds the pedal down. Watch the tubing for air bubbles and dark fluid flowing into the catch bottle.
- Close the bleeder screw before your assistant releases the pedal. This step is non-negotiable. Releasing the pedal with the screw open draws atmospheric air directly into the caliper.
- Repeat steps 4 through 6 at each wheel until clear, bubble-free fluid flows consistently through the tubing.
- Top off the reservoir after every two to three pedal pumps. Never let the reservoir run dry during this process.
| Wheel | Position in sequence | Distance from master cylinder |
|---|---|---|
| Right rear (RR) | 1st | Farthest |
| Left rear (LR) | 2nd | Second farthest |
| Right front (RF) | 3rd | Second closest |
| Left front (LF) | 4th | Closest |
Pro Tip: Mark each bleeder screw with a paint pen after completing it. On a four-wheel bleed, it is easy to lose track of which corners are done, especially when working alone.
How does bleeding brakes with ABS differ from standard bleeding?
ABS-equipped vehicles add a layer of complexity that catches many DIY mechanics off guard. The ABS hydraulic control unit (HCU) contains internal valves and sensors that trap air in passages manual bleeding cannot reach. Air trapped in the ABS module is the most common reason a brake pedal stays spongy after a thorough manual bleed.
The solution requires a bi-directional scan tool capable of commanding the ABS pump and solenoid valves to cycle. This cycling forces fluid through the internal passages of the HCU, pushing trapped air out to the wheel calipers where it can be bled normally. The process alternates between scan tool activation and manual bleeding at the wheels, repeating until no air remains.
Skipping the ABS module bleed after a brake fluid flush is not a shortcut. It leaves air in the hydraulic control unit that will cause a soft pedal under normal driving and a dangerously delayed response during an emergency stop. The ABS system cannot function correctly with air in its modulator.
Key considerations for bleeding brake systems with ABS:
- Confirm your scan tool supports bi-directional ABS actuation for your specific vehicle make and model
- Perform the standard wheel bleed sequence first, then activate the ABS cycle function
- Repeat the wheel bleed sequence after ABS cycling to capture any newly displaced air
- Vacuum bleeding works well for solo mechanics on the wheel caliper portion but does not replace scan tool cycling for the HCU
- Consult your factory service manual for the ABS-specific bleed procedure, since sequences vary significantly by manufacturer
Power brake bleeders, which pressurize the reservoir to push fluid through the system, are another effective option for solo mechanics. They reduce the risk of the reservoir running dry and maintain consistent pressure throughout the bleed. Neither power bleeders nor vacuum tools replace the scan tool step on ABS-equipped vehicles.
Troubleshooting common problems during a brake bleed
A soft pedal after bleeding almost always points to one of three causes: air still trapped in the ABS module, a loose hose connection drawing in atmospheric air, or a failing master cylinder. Identifying the correct cause before repeating the bleed saves significant time.
Common problems and their fixes:
- Persistent spongy pedal: Air remains in the ABS HCU. Use a bi-directional scan tool to cycle the ABS valves, then repeat the wheel bleed sequence.
- Bubbles that never stop: The reservoir ran dry at some point during the bleed. Air entered the master cylinder. The master cylinder requires bench bleeding before you continue.
- False air indication: A loose hose connection at the bleeder screw allows atmospheric air to enter the tubing, mimicking an incomplete bleed. Secure the connection with a zip-tie or dedicated fitting and retest.
- Fluid contamination: Dark, gritty fluid or fluid with a burnt smell indicates the system needs a full flush. Contaminated fluid degrades ABS seals and reduces the wet boiling point below safe operating thresholds.
- Bleeder screw leaks after closing: The screw seat is damaged or the screw is cross-threaded. Replace the bleeder screw before completing the bleed.
After completing the bleed at all four wheels, tighten each bleeder screw to the manufacturer’s specified torque. Do not overtighten. Bleeder screws are typically made of soft steel and strip easily. Reinstall the wheels, lower the vehicle, and pump the brake pedal firmly several times before moving the car. The pedal should feel firm and consistent with no travel toward the floor. Inspect each caliper and bleeder screw for fluid seepage before driving.
Pro Tip: Test brake pedal firmness by pressing and holding the pedal for 30 seconds with the engine off. If the pedal slowly sinks toward the floor, the master cylinder is bypassing internally and requires replacement, not more bleeding.
For vehicle-specific torque specifications and bleeding sequences, the brake system service procedures in a factory-level manual are the definitive reference.
Key Takeaways
A complete brake bleeding procedure requires the correct fluid type, the right wheel sequence, and ABS module cycling on equipped vehicles to guarantee a firm, safe pedal.
| Point | Details |
|---|---|
| Replace fluid every 24 months | Moisture buildup lowers boiling point and causes internal corrosion over time. |
| Follow the correct bleed order | Start at the right rear and work toward the left front to purge air systematically. |
| Never let the reservoir run dry | An empty reservoir introduces air into the master cylinder, requiring bench bleeding. |
| ABS systems need scan tool cycling | Manual bleeding alone cannot purge air trapped inside the ABS hydraulic control unit. |
| Secure hose connections tightly | A loose bleeder hose draws in atmospheric air and produces false incomplete-bleed readings. |
Why I always check the factory manual before I touch a bleeder screw
Most brake bleeding failures I have seen come down to one mistake: the mechanic assumed the standard RR, LR, RF, LF sequence applied to their specific vehicle. It usually does. But certain platforms, particularly those with diagonal split brake circuits or integrated electronic parking brake actuators, use a completely different sequence. Getting it wrong means you finish the job, the pedal still feels soft, and you have no idea why.
The second most common mistake is skipping the ABS scan tool step because the mechanic does not have access to a bi-directional tool. I understand the temptation. The manual bleed looks complete, the fluid runs clear, and the pedal feels acceptable in the driveway. Under hard braking on the road, the ABS activates, the trapped air compresses, and the pedal drops. That is not a minor inconvenience. That is a safety failure.
Investing in a quality vacuum bleeder for solo work and securing scan tool access for ABS-equipped vehicles are the two upgrades that make the biggest difference in bleed quality. Repairmanualnow publishes vehicle-specific repair manuals that include OEM-level bleeding sequences, torque specifications for bleeder screws, and ABS actuation procedures. Referencing those before you start is not optional if you want the job done right the first time.
— Aurimas
Repairmanualnow: factory-level manuals for every brake job
Brake bleeding is one procedure where generic advice only gets you so far. Vehicle-specific torque specs, ABS scan tool sequences, and split-circuit bleeding orders vary enough between makes and models that a factory service manual is the only reliable reference.

Repairmanualnow provides full car and machinery repair manuals updated for 2026, covering passenger vehicles, trucks, and heavy equipment. Each manual includes OEM-specified brake bleeding sequences, wiring schematics for ABS hydraulic control units, and exploded-view diagrams of caliper and master cylinder assemblies. Whether you are bleeding a standard drum-and-disc setup or working through an advanced electronic brake system, the correct procedure for your exact vehicle is available. Access the full library at Repairmanualnow and complete your next brake job with professional-grade confidence.
FAQ
How often should you bleed your brakes?
Bleed and replace brake fluid every 24 months or approximately 24,000 miles. Moisture absorption degrades fluid quality and lowers its boiling point regardless of visible pedal symptoms.
What is the correct brake bleed order?
The standard sequence is right rear, left rear, right front, left front. Always verify this order in your vehicle’s factory service manual, since some brake circuit configurations require a different sequence.
Can you bleed brakes without a helper?
Yes. Vacuum bleeding creates negative pressure at the bleeder screw to pull fluid through the lines without a second person pumping the pedal. A pressure bleeder at the reservoir is another effective solo method.
Why is my brake pedal still soft after bleeding?
A spongy pedal after a complete wheel bleed almost always means air remains in the ABS hydraulic control unit. A bi-directional scan tool is required to cycle the ABS valves and purge that trapped air.
Does brake bleeding with ABS require special tools?
Yes. Modern ABS systems require a bi-directional scan tool to command the hydraulic control unit valves to open and cycle. Manual bleeding at the wheel calipers alone cannot access the internal passages of the ABS modulator.
Recommended
- Top 5 Car Maintenance Tips – SEO Optimized Guide – Repair Manual Now | Automotive, Agriculture & Construction Manuals
- Introduction to Repair Guides – Repair Manual Now | Automotive, Agriculture & Construction Manuals
- Expert Repair and Maintenance Insights – SEO Optimized – Repair Manual Now | Automotive, Agriculture & Construction Manuals
- Car Service Repair Manuals: The Professional’s Guide to Technical Documentation